Different Steps to Measure the Diameter of a Flange
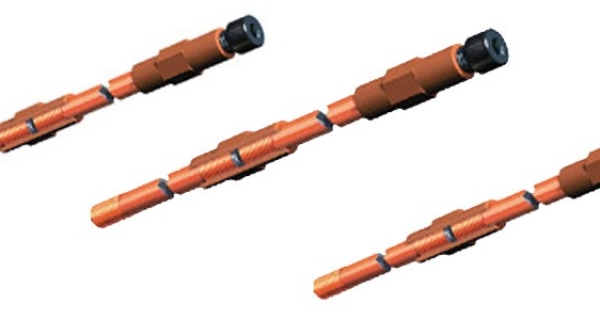
Stainless Steel Flanges manufacturers in Class 150 Flange, Class 300 Flange, Class 400 Flange, Class 600 Flange, Class 900 Flange, Class 1500 Flange and SS 304 Flange, SS 316 Flange, SS 347 Flange, SS 321 Flange.
Сообщение 6 лет тому назад в журналы, обновленный 6 лет тому назад.
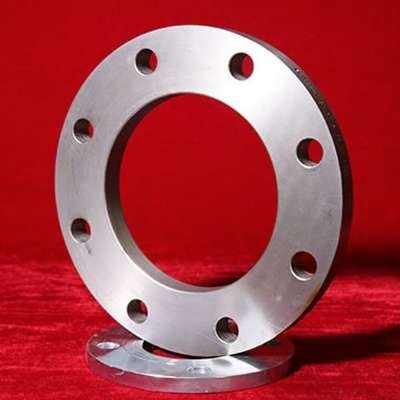
Different Steps to Measure the Diameter of a Flange
Think about the flange itself
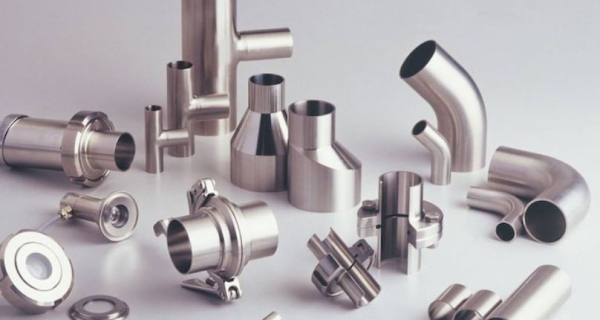
This is just a rapid examination for those new to flanges. A flange is a circular piece used to join two pipes. They can be made of a wide variety of materials such as stainless steel flanges, galvanized steel, PVC & many others. They create a seal at the joint to keep fluids from leaking.
Although the dimension of the flange diameter is just one measurement used while recognizing your flange, it is an incredibly critical one when lining this piece up to your system.
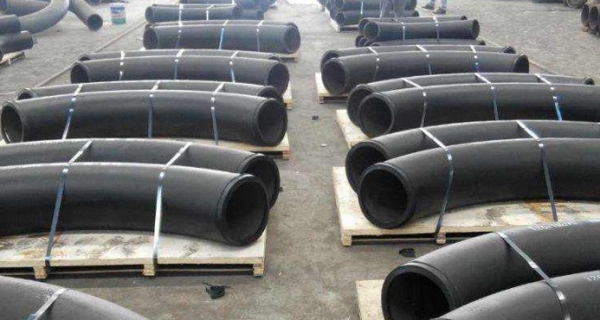
Flanges are used to connect two joints of pipe. Each connecting piece of pipe has installed flanges that bolt together with stud bolts & seal with a gasket. Akai Metal is a manufacturer of flanges, offering carbon steel, stainless steel, & exotic alloys. With sizes ranging from 1/4” to 48", Akai Metal can provide the flanges required for virtually any piping project.
Getting started with measurement — the devil is in the details
There are 3 separate steps when discoursing the measurement of the flange diameter. First, measuring the flange’s inner diameter, then across the center of the flange & finally, the outer diameter.
Step 1 – Start by measuring the inner flange by simply measuring the center hole. This diameter lets you know what size pipe should be paired with the flange. If you have documentation that tells you the inner measurement of the flange & pipe, make sure you have the right documentation for the part. Papers can get mixed up easily, so it never hurts to take a quick measurement to verify independently.
Step 2 – Measure across the center of the flange. Make sure you find the exact center of the flange to get an accurate dimension of the flange. You will notice that the bolt holes around the flanges are distributed evenly. This will help guide you to the center.
Step 3 – Finally, measure around the outside diameter of the flange. If your system is squeezed into a tight space, a flange that is too thick may cause problems & some other pipes may need to be moved. Knowing the outside diameter will help you plan for this.
That’s really about all that needs to be done when measuring the diameter of a flange. However, it’s easy to acquire some false confidence & skip one or more of these steps. Be sure to watch the details, which will ensure a much better installation.
If you’re building a new system, this is an opportunity to buy the pipes & flanges specifically manufactured to fit together according to widely accepted standards. Obviously, this will eliminate chances for error.
Beyond the measurement, keep in mind what type of fluid will be passing through the system, the temperature of both the fluid inside, the working conditions outside, & of course, the material used to create the flange. Some pipe/flange materials will not play nice with the chemicals passing through. Make sure you understand the demands the system will create.